When starting a new garden bed, either straight over the soil or in a frame over the soil, a No Dig style garden bed is a great option. It uses up potentially waste ingredients and transforms them into a wonderfully fertile 'soil'.
The classic No Dig garden is based on the simple principles of
- Composting layers and processes
- Encouragement of soil micro-organisms, as well as worms
- The creation of humus, which is the final breakdown of organic matter in the soil.
No Dig gardens are, in effect, composting gardens.
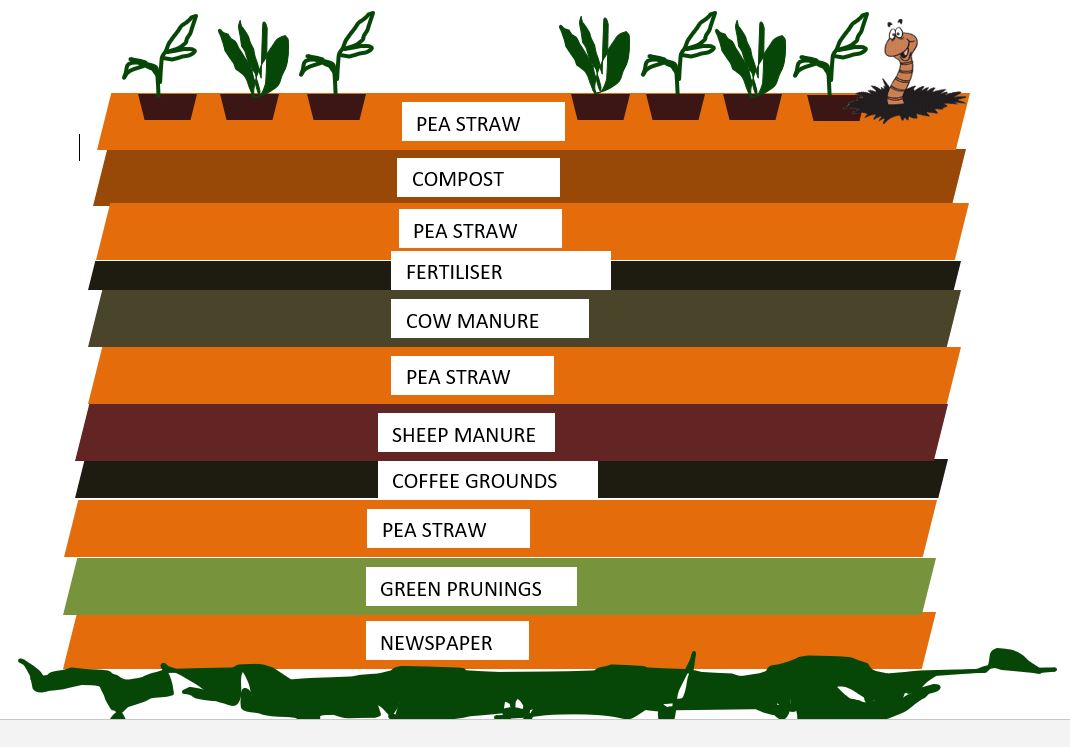
- No Dig gardens rely on layers of carbon materials and nitrogen materials. High nitrogen materials, such as animal manures, blood and bone and other organic fertilisers, break down high carbon materials like straw and newspaper in the presence of good moisture to become compost. More carbon material is required than nitrogen material, which means the nitrogen layers are thinner than the carbon layers. Essentially, in a No Dig bed, the material is what ends up both feeding the plant and what the plant is growing in.
- Composting of the components of the No Dig bed is encouraged by the use of organic materials in layers, the moisture in the garden bed and the use of fertilisers such as animal manure.
BASIC NO DIG GARDEN CONSTRUCTION
- Select the site. It can be over weedy lawn, poor soil, good soil, or even concrete. On non-permeable surfaces you may want to lay down pebbles, gravel or prunings to allow aeration and drainage. (On concrete, you may want to include drainage pipes to take away moisture).
- Design the garden, work out how large you want it. Make sure the bed is narrow enough for easy picking from either side. You want to avoid walking through the bed. Judge the size by stretching out with your arm. Double this to become the width of the bed at most.
- Gather your materials, including:
High nitrogen materials such as animal manures, grass clippings, green weeds, worm castings, blood and bone, organic fertiliser pellets, coffee grounds. You can also add kitchen scraps if you have any. If you have compost, this is another valuable addition.
High carbon materials include straw, dried leaves, autumn leaves, husks, newspaper, shredded paper, cardboard, dried garden prunings.
Edging materials such as edging in recycled timber, sleepers, rocks, corrugated iron, pads of hay bales, concrete blocks, whole bales of straw (if making a large garden) or a pre-fab garden bed.
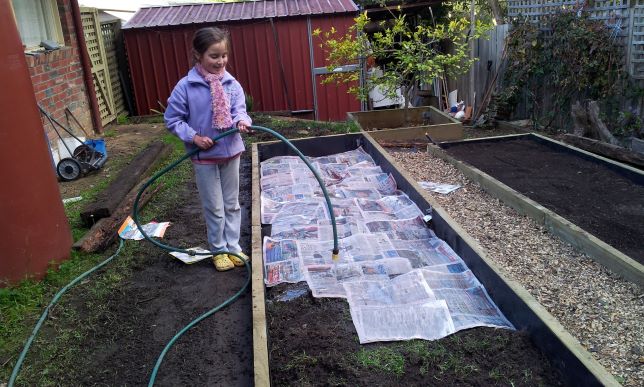
4. Ensure access to a hose connected to a tap as you need to water layer by layer as you build.
YOU’RE NOW READY TO BUILD
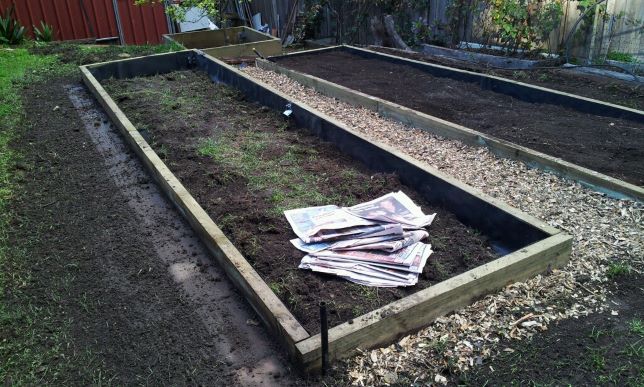
- Put down a base layer of wetted newspaper (about 6 sheets thick) or corrugated cardboard. If you are building over tall weeds slash them down and leave them in place. Place the wetted newspaper over the flattened weeds. Paper also acts as a weed suppressant. Make sure you overlap the sheets of newspaper as you lay them down.
- Place vegie scraps (if you have any) to attract worms, or a layer of blood and bone to help break down paper.
- Start to add and alternate your layers. Add thick layers of carbon-based materials, wetting each layer as you go and then top those with a thinner layer of the high nitrogen materials.
- After you put down the final layer, then add a layer of about 10cm of a good, weed free propagation medium such as mature compost or soil and compost. Place some mulching material (eg pea straw or lucerne hay) over the top.
- Planting can happen at this point, or you might wish to wait a few weeks. You create pockets in the top mulch to become planting holes, filling these with some potting mix or compost if needed. Plant only seedlings as seeds may get lost in all the volume of the layers.
- Water in with a seaweed fertiliser to encourage root growth. Further applications of seaweed fertiliser throughout the growing cycle will strengthen and make plants more resistant to pests and diseases.
- Next season, after you have finished with the plants, you will need to top up with another layer of manure and/compost and then mulch over the top. The earlier no-dig components will have broken down into lovely rich ‘soil’. There is no need to repeat this entire process every season but you will need to top up as described.
1. Start on soil, lawns or slashed weeds.
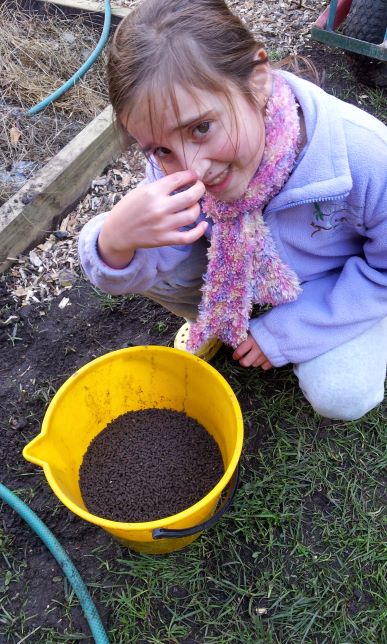
4. Some concentrated pelletised manure-based fertiliser was next.
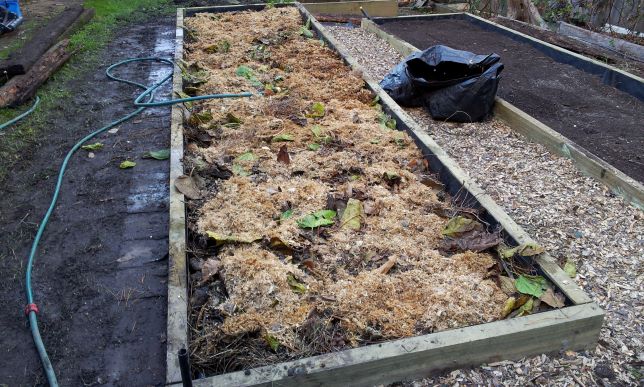
6. Scrapings from the chook shed, mainly wood shavings are next.
2. Layer wetted newspaper as the base.
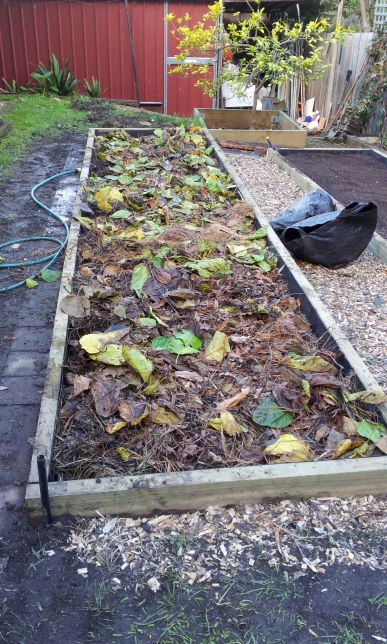
5. Dried autumn leaves made the next carbon-based layer.
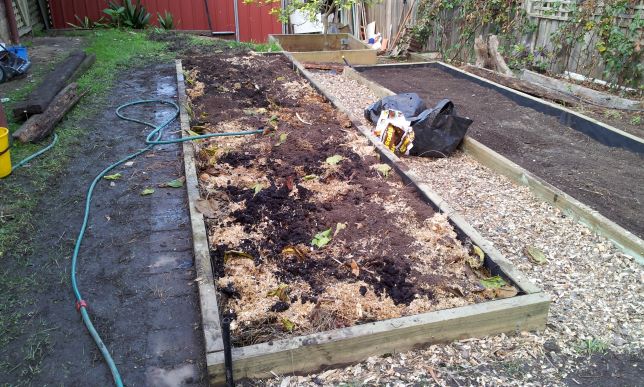
7. Coffee grounds from the local cafe make a fine nitrogen layer.
3. A layer of dried prunings was added at the base of this bed.

6. Bulky manure went next, in this case it was horse manure.
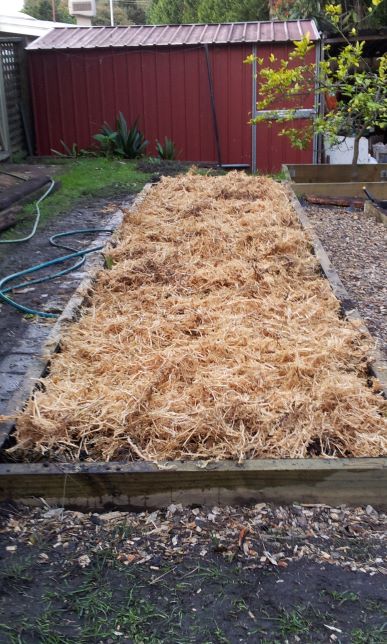
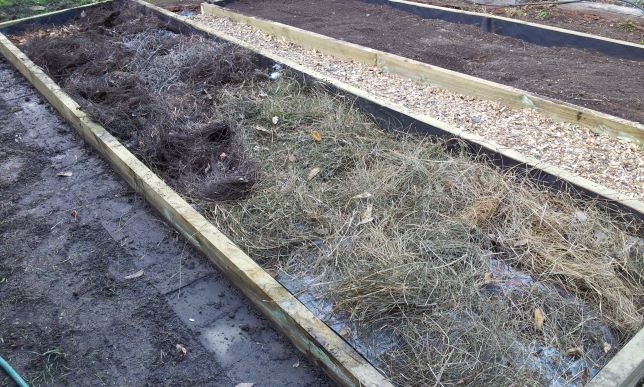
9. Over the top went my mulch of choice, pea straw. The bed is ready for planting or allowed to mature a bit longer.