Tasty & Trouble-free Tomatoes
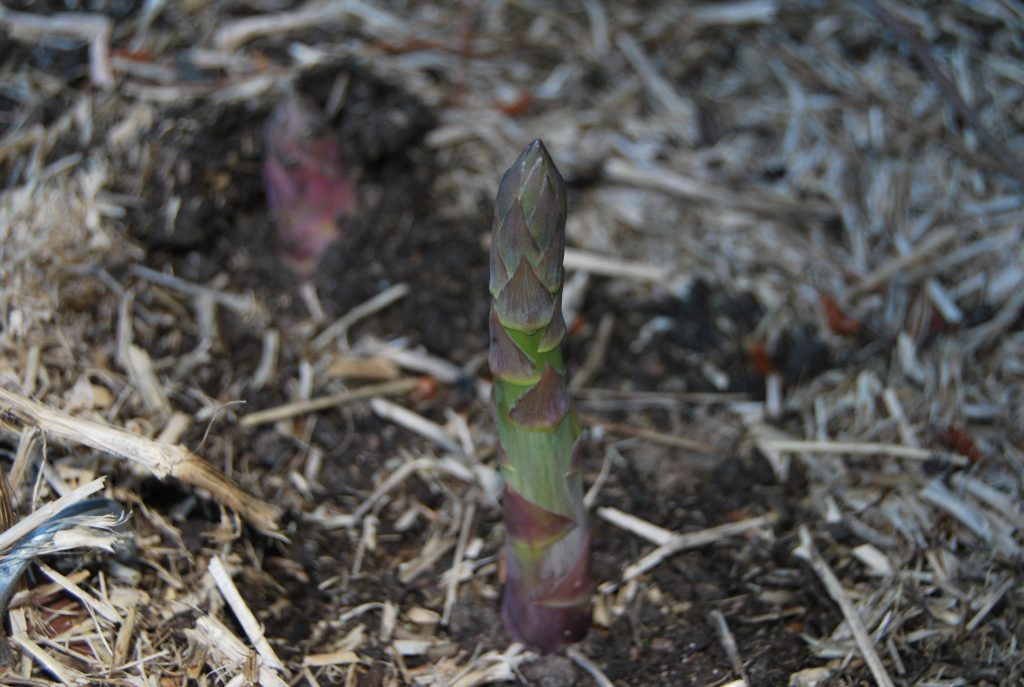
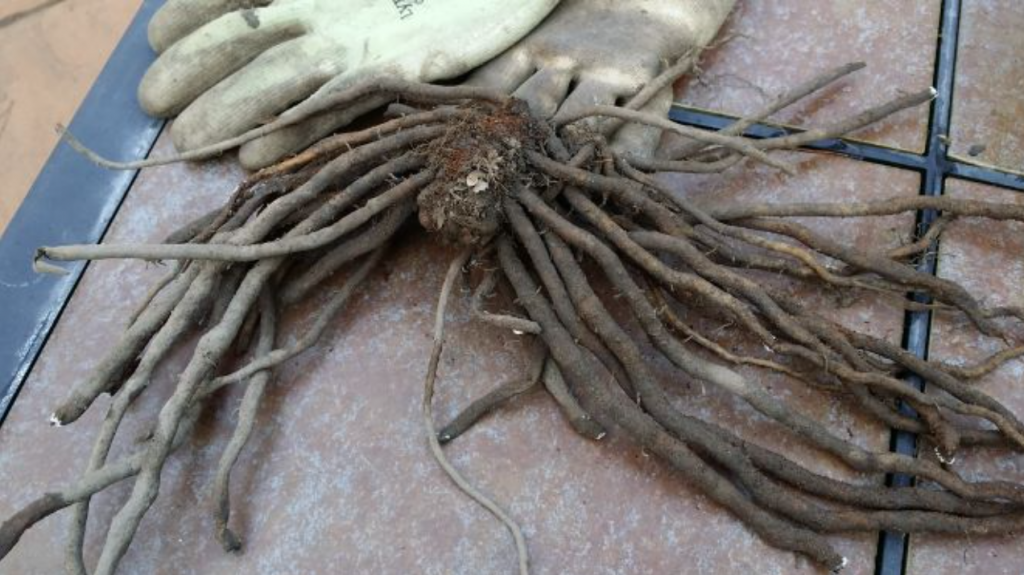
Asparagus is the vegetable of kings, delicious especially picked fresh from the garden. If you’ve got the space for a dedicated bed, asparagus will reward you year after year with tender and succulent stems. It is best grown from 2 year old crowns, available from nurseries in Melbourne from June to September. Grown from seed or seedling you will be waiting several years for any asparagus worth eating. Plant from crowns for fastest results.
SEED VS SEEDLING
SITE & SOIL PREPARATION
- Choose an area that will get at least 6 hours of direct sunlight a day. Check pH and adjust by adding lime if needed (pH 6.5-6.8 ideal). If you are adding lime, wait 2 weeks before further soil preparation.
- Prepare an area about 60cm x 60cm by adding any or all of the following: compost, cow manure or mushroom compost. Add a few handfuls of pelletised organic manure (eg Dynamic Lifter) at the same time. Water this all in well and then wait for a couple of weeks for it to settle before planting.
PLANTING TOMATOES IN THE GROUND
- Plant the tomato seedling up to the level of its first set of leaves, burying part of the stem. The plant will send out extra roots along its stem, making for a stronger plant. If the variety is tall growing, add a stake, cone or climbing support at the same time as planting.
- After planting, water it in well. If you have any Seasol or seaweed concentrate, include this in fortnightly watering.
PLANTING TOMATOES IN A POT
- Choose a pot that is at least 2 buckets in size. If you want to use a decorative pot that is terracotta or ceramic, get a plastic planter pot that will fit inside the decorative pot. Plastic will not dry out as quickly as the terracotta (unglazed) pots.
- Use a good quality potting mix, not garden soil. Choose one that has slow release fertiliser and water-saving crystals in it already. If you make compost, use some of it mixed 50/50 with the potting mix for extra “oomph” for the plant.
- Watering is especially important with pot grown tomatoes as the potting mix can dry out quickly and then become water-repelling. Being consistently moist is critical.
CARING FOR TOMATOES
- Plants will benefit from an occasional pinch of potash to promote flowering and fruiting. Do this after planting and then every 4-6 weeks after that, watering in well each time.
- Consistent watering is essential. If the soil is allowed to dry out in between watering, the developing fruit can show signs of water deficiency in a sunken and brown end on the tomato. This is known as Blossom End Rot. However, when you have a lot of green fruit turning to red and are waiting for them to ripen, hold off a bit of watering as the tomato flavours will intensify if not over-watered.
- Mulching is important to help stop soil drying out. Any of the straw mulches are best and can be placed right up against the stem. Mulch straight after planting. Plant some basil around the base to use together with the ripening tomatoes; or some marigolds for their soil-disease fighting capabilities.
COMMON PROBLEMS
NITROGEN (N)
Lack of nitrogen shows as stunted growth, pale green younger leaves.
Solution: Diluted fish emulsion, well-aged compost or manure.
PHOSPHORUS (P)
Lack of phosphorus shows as stunted growth, purpling leaves, especially underneath.
Solution: Check pH level. If too high or too low, P becomes unavailable. Treat with blood and bone or rock phosphate.