Why Preserve?
I love putting food in jars. I love the sustainable nature of it all – the re-using of glass jars, the saving of food that might otherwise be wasted and how zero kilometres the food production is.
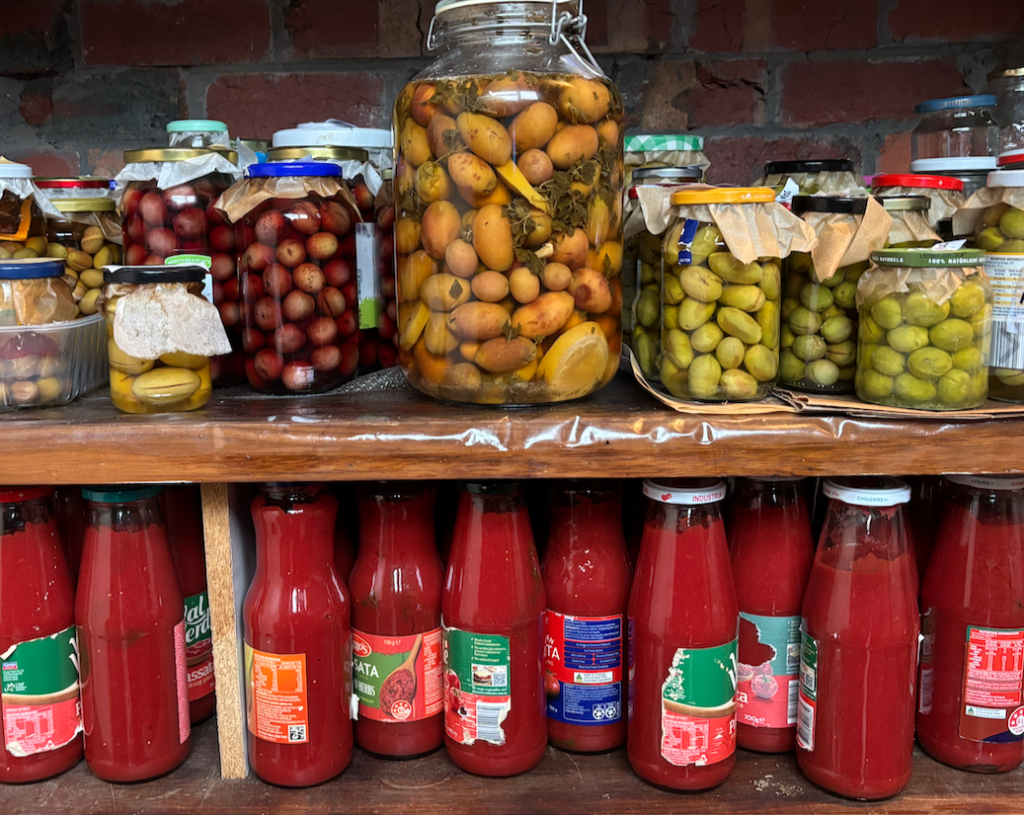
One of the natural consequences of growing food is that sometimes you get an overabundance of produce. The plum tree that ripens kilos of fruit, the tomatoes that seem to come on all at once or the herbs that just demand to be stored for leaner times. Indeed, preserving food was once a way of making food available for the months when growing slowed down before refrigeration and freezing were available options. And if you don’t grow enough to preserve, buying when fruit and vegetables are seasonal is also a great way of purchasing at their cheapest price to make your preserves.
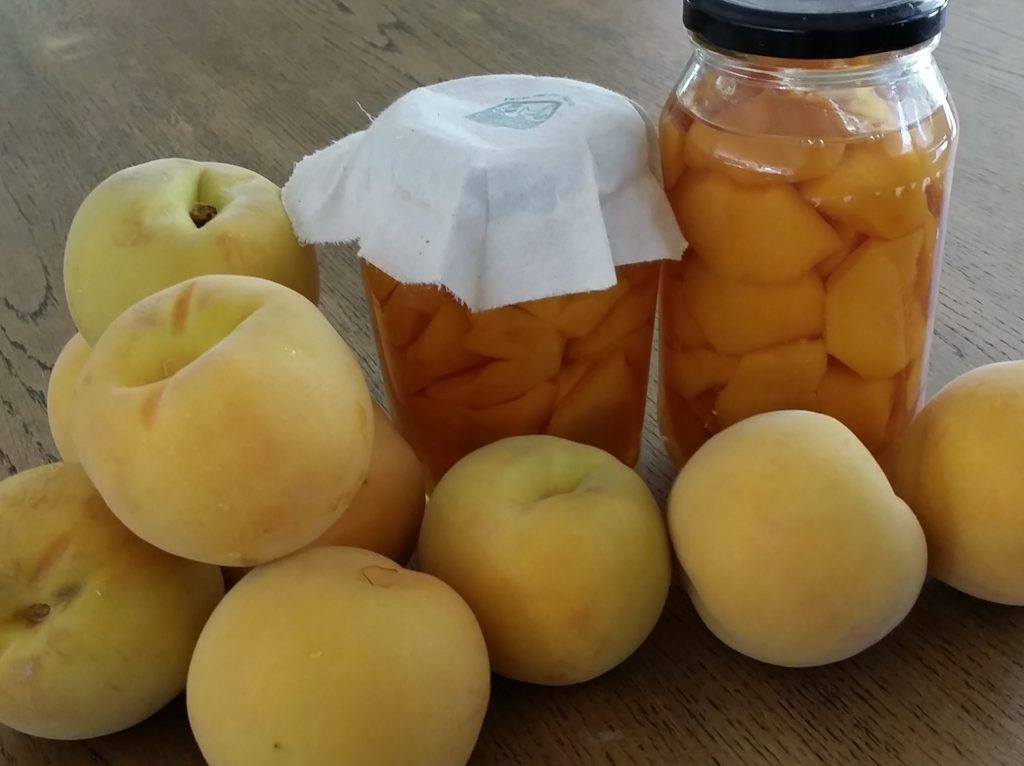
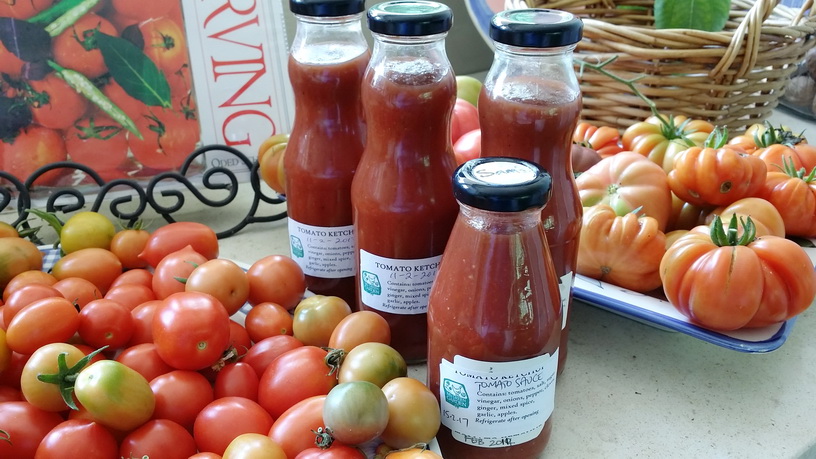
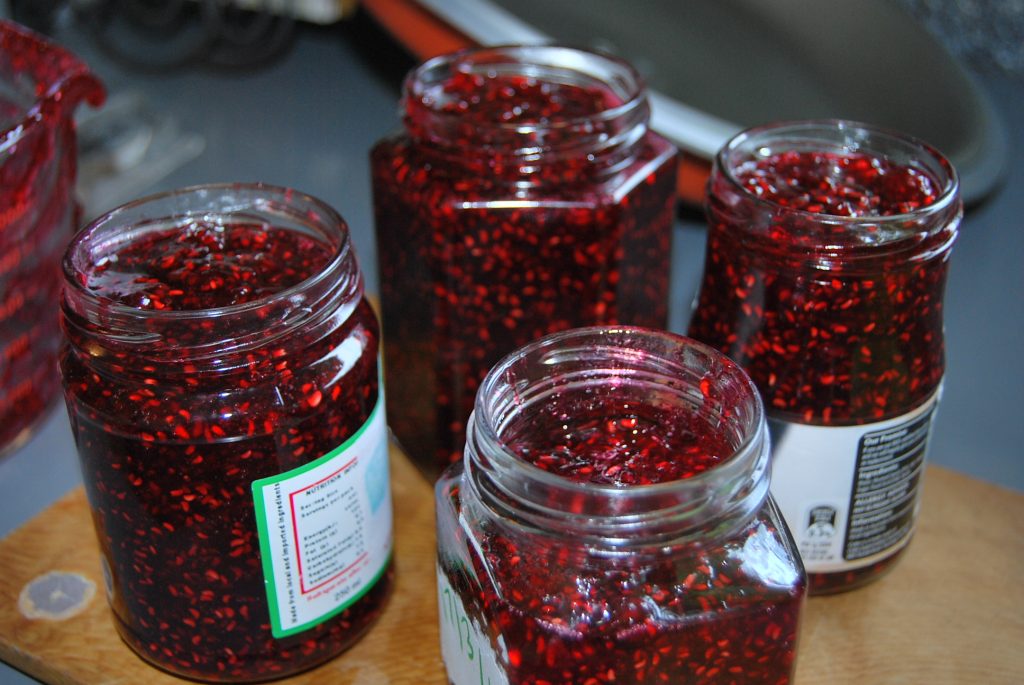
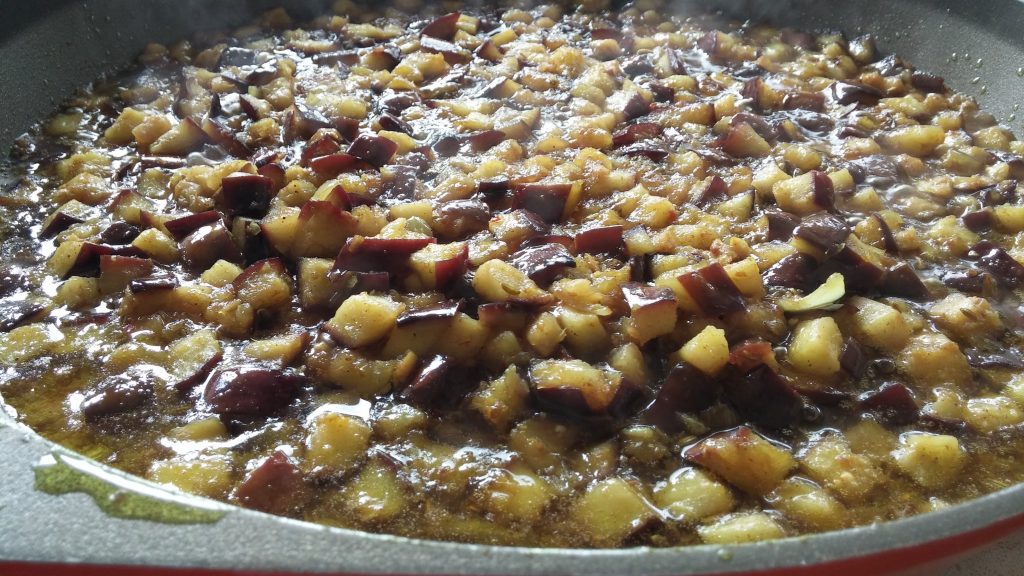
Bottling fruit was a staple activity over the summer in kitchens, resulting in gleaming jars of apricots, plums, peaches or whatever else was grown or available. The seasonal nature of preserving produce to consume later in the year has also led to transforming simple ingredients into the making of delicious preserves. Tomatoes can be preserved simply in jars or bottled as passata and can also be turned into sauces and chutneys. Berries make superb jams and even the humble zucchini can make a pickle that graces many a ham sandwich. This is the value-adding nature of preserving: the main ingredients are turned into delicious jams, pickles, chutneys and sauces.
The benefits are many: the ingredients are common and they have names – and not numbers! These preserves can last for many months when done properly and can elevate a simple sandwich into one you won’t be swapping in the schoolyard. Or they can grace your cheeseboard or curry and really make a taste difference. Finally, making a batch of preserves will involve more than one jar being produced, so that you will have some to take to community food share events or have something to quickly bring over as a last minute gift.
Understanding Preserving
Preserving food is the act of treating produce in some way so that any spoilants that would naturally decay the food are held at bay for much longer. We’re probably all familiar with lemons left in a bowl on a benchtop, seemingly fine one day and then the next appearing soft and mouldy. These spoilants would include bacteria, found on all living things especially on the surface of foods. There are also enzymes within the produce; invisible wild yeasts that will ferment foods and moulds that can take hold rapidly and multiply before your eyes. All of these food spoilants need certain conditions to stay alive and reproduce and it is the task of the preserving technique that you employ to prevent this from happening, at least for a lot longer than would occur if left untreated.
Sterilising your jars and lid is a crucial step as it removes this bacteria and spoilants, preventing your preserves from spoiling and ensuring a longer shelf life. Always remember to never use lids with any rust or damage, or jars with cracks or chips as it risks compromising the vacuum seal from forming.
How to Sterilise
STERILISING JARS
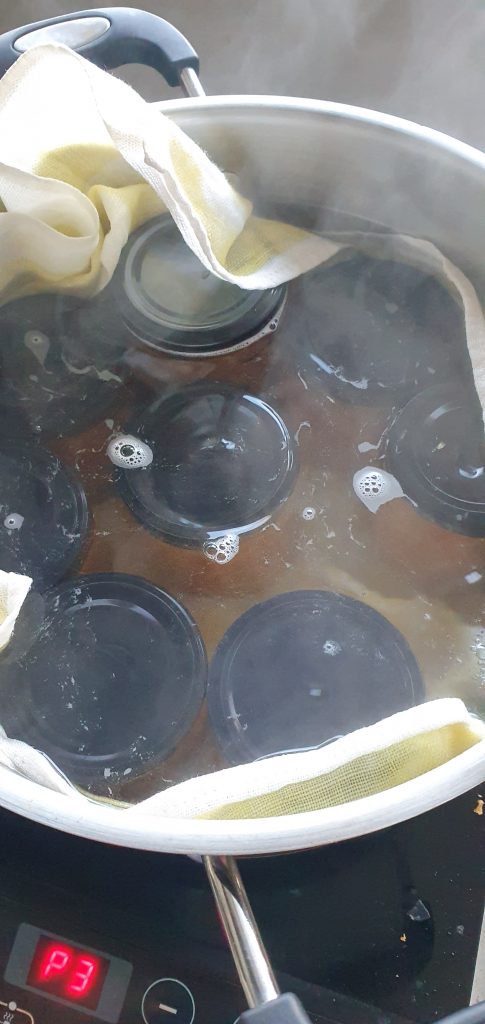
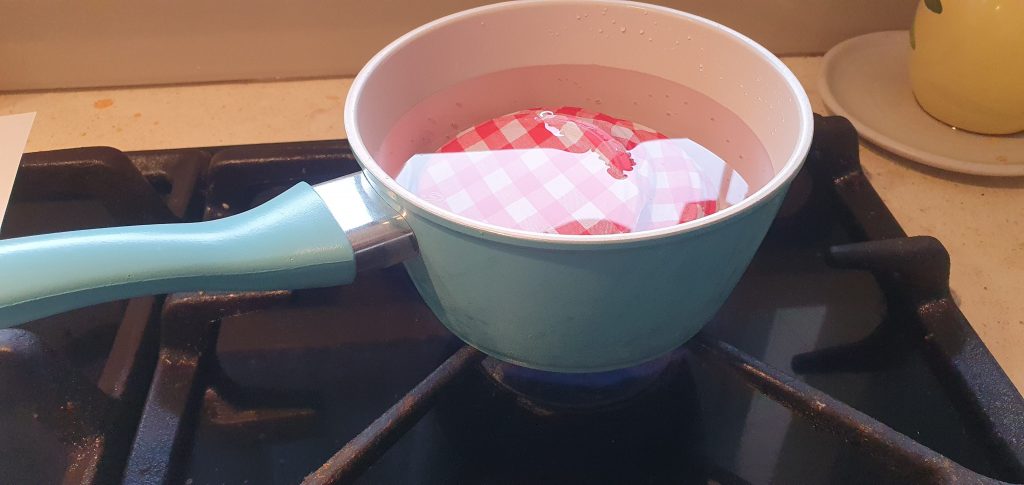
Boiling the Jars
Get a saucepan large enough to fit the jars to be sterilised. Put a folded old clean tea towel on the base of the saucepan. Place your clean and empty jars in either on their sides, or preferably standing up. Fill it up with cold water ensuring the jars are also full of water. Bring the pot to the boil and allow to boil gently for 10 minutes. Carefully remove the jars and stand upside down on a teatowel to drain.
This method is suitable if the labels on the jars are already removed. Otherwise the label might come off and the glue will be swirling in the water and your jars will no longer be properly clean.
Using the Microwave Oven
Place cold water in the base of the jars to be sterilised to the depth of 1-2cm. Stand them upright in the microwave oven. Turn it on until you see that the water is boiling and has been boiling for at least 30 seconds. The time really depends on how large the jars are and how many you are sterilising at any one time.
Remove the jars carefully as they will be very hot. Tip out the water and allow them to air dry while you are making your preserves.
Using a Baby Bottle Sterilising Unit
This is my favourite method. It will sterilise up to 7 jars at a time in the microwave for 4 minutes. Once finished, allow them to air dry while you are making your preserves.
Using the Oven
Place your clean jars upright on an oven tray. Turn the oven on to 100-120 deg C and keep the jars in there until your preserves are ready to jar, at least 10 minutes at temperature. Remove from the oven carefully and use while still hot.
Hot Dishwasher Cycle
If your dishwasher has a cycle of a least 75 degrees, this will work for you. You can also sterilise the lids this way!
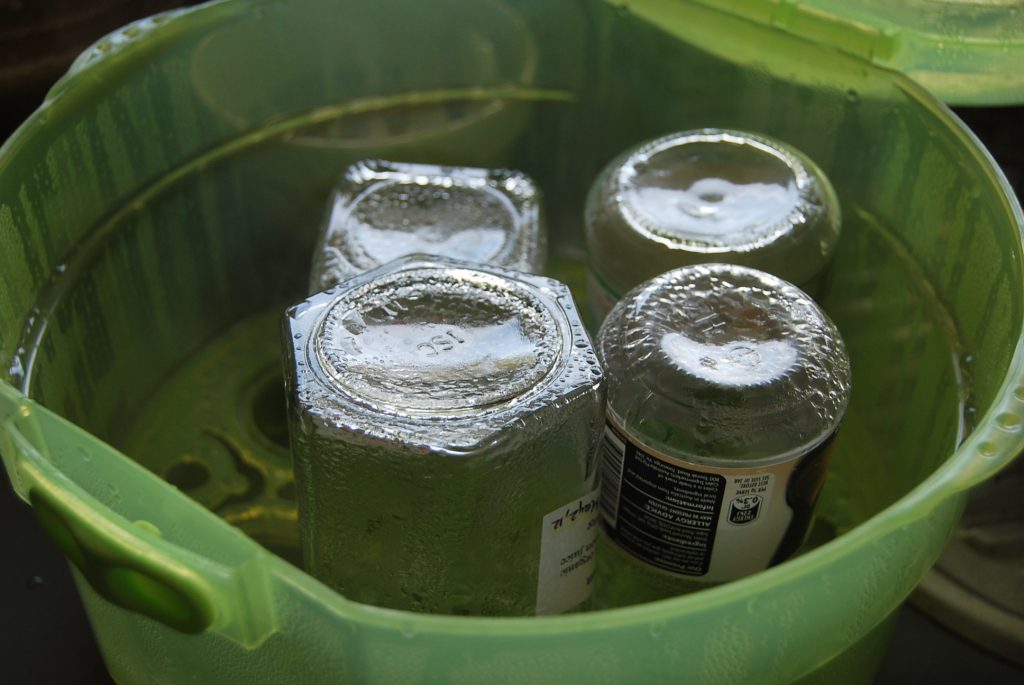
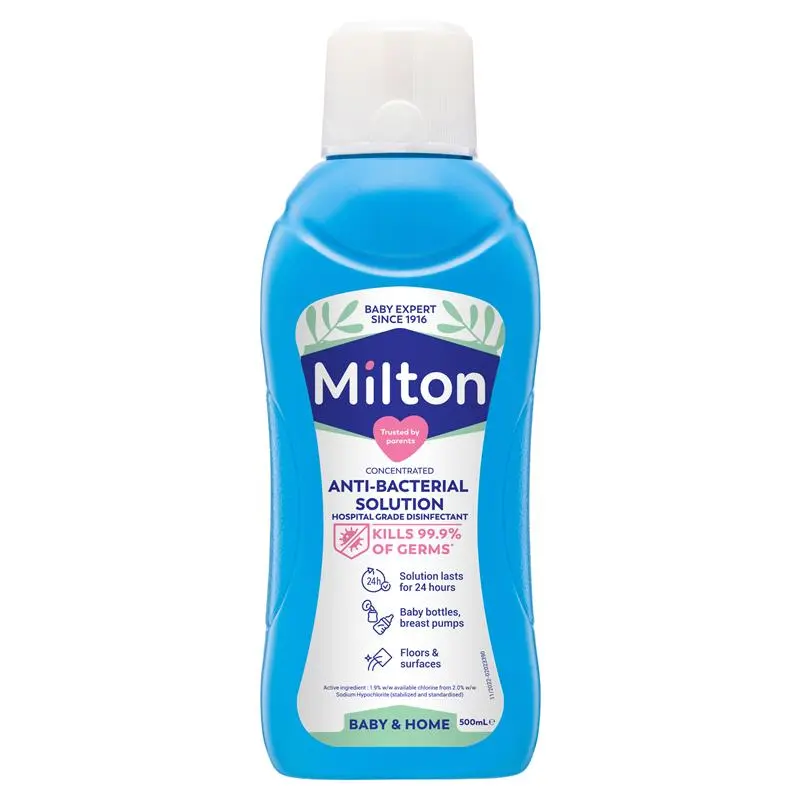
Sterilising Tablets (Miltons)
These are also used for sterilising baby bottles, though in cold water. Make up the solution by dissolving a tablet in the requisite volume of water and put your jars in. They are ready to use in 15 minutes.
STERILISING LIDS
If you are re-using lids, they need to be completely intact, free of any rust, scratched paint and not dented. They are usually metal with a internal rubberised coating. They can be sterilised by putting them in a saucepan, covering them with cold water and bringing to the boil for several minutes, then draining right way up on a clean tea towel.
Recipes
My recipes are tried and true, and I’ve included them because they work and are delicious! Below are some of my favourites.