Tasty & Trouble-free Tomatoes
A favourite crop for home gardeners, tomatoes are well worth growing. Whether you want to give your tomato seedlings the best start in life or you’re in the middle of the growing season and they’re not growing as well as can be expected, you might find some answers here.
Seed vs Seedling
In Australia, only dedicated gardeners or passionate foodies would be able to name tomato varieties beyond calling them big round red ones or cherry tomatoes. Did you know though, that there are literally hundreds of varieties of tomatoes beyond what you will ever see on the supermarket shelf? The only way you could ever sample even a fraction of these would be by growing your own.
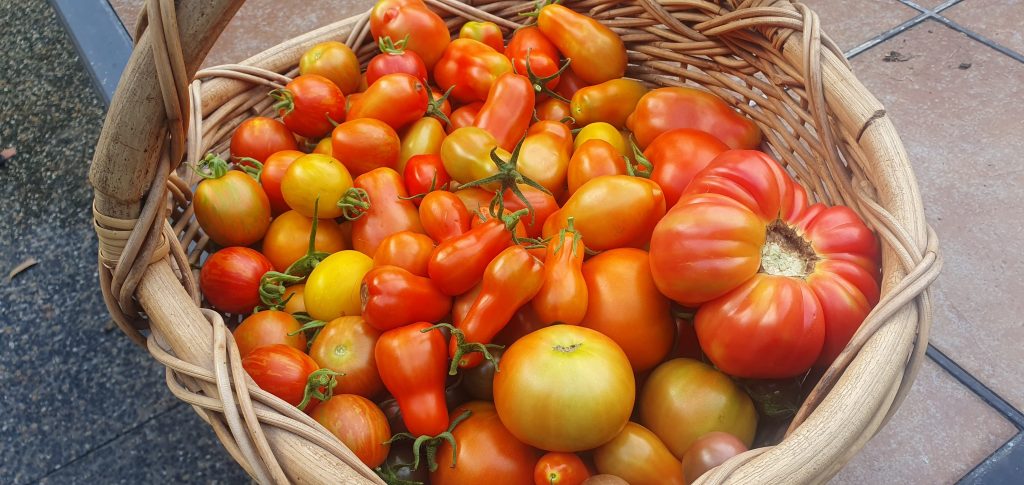
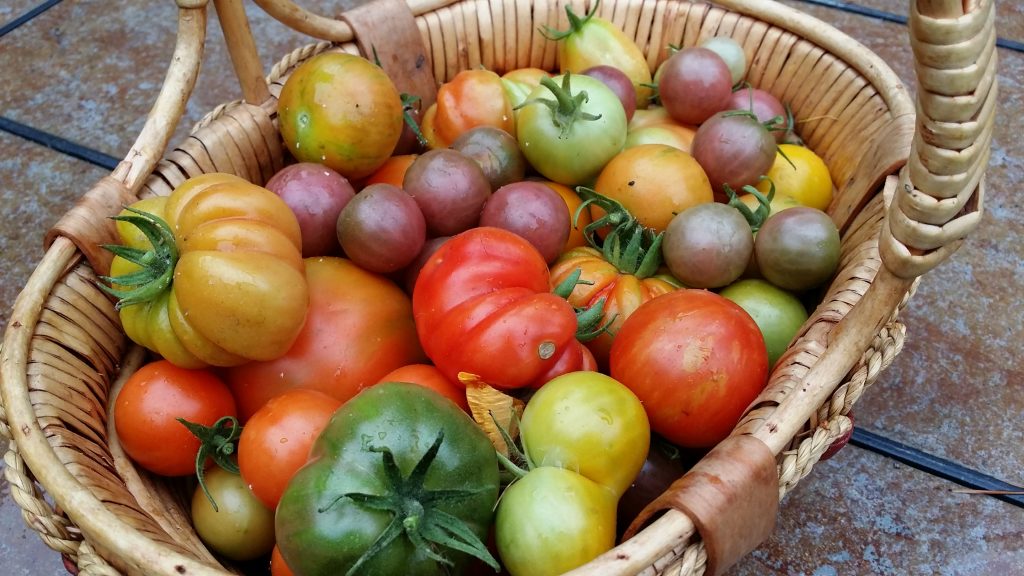
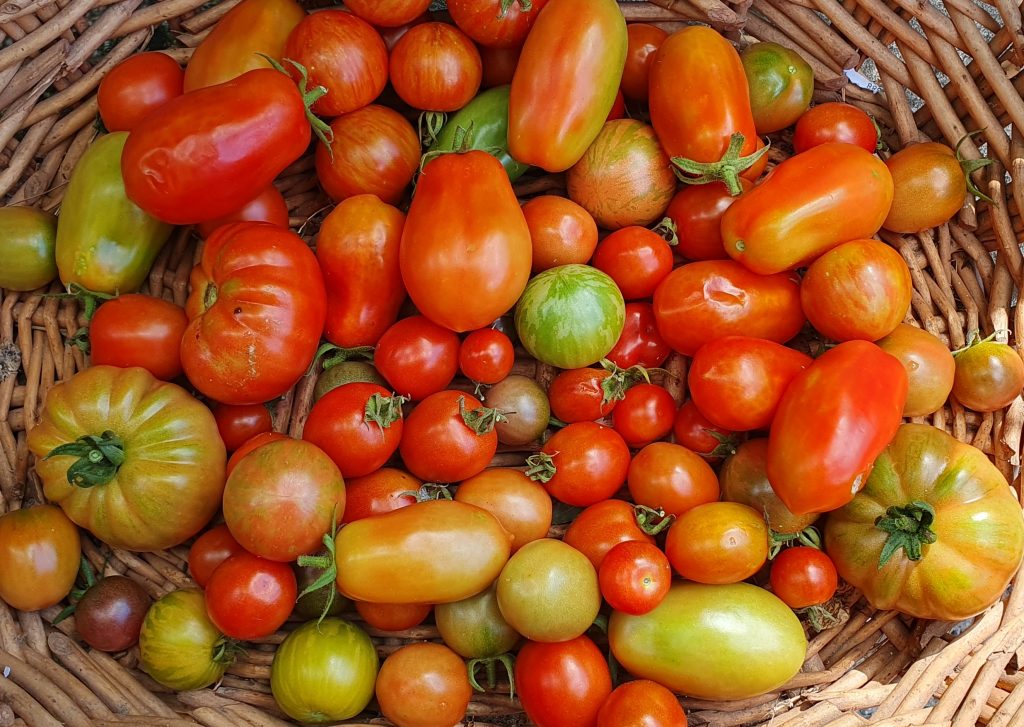
Fortunately, seedling growers are expanding the range of seedlings made available to home gardeners by answering the call for varieties that may give the tomato different properties even beyond much better flavour. Suitable for pots or hanging baskets; cooking and preserving; stuffing and baking; making into sauces and passata – and then there’s the different colours and shapes that have been around ever since tomatoes have been. Round, ribbed, pear-shaped, striped, green when ripe, yellow, orange, browny purple, deep purple – all fabulous mixed on a platter. Yet, despite the advances, seedling growers still might only grow a couple of hundred varieties of this summer favourite.
So if you wanted to go beyond these varieties you’ll need to grow your own from seed.
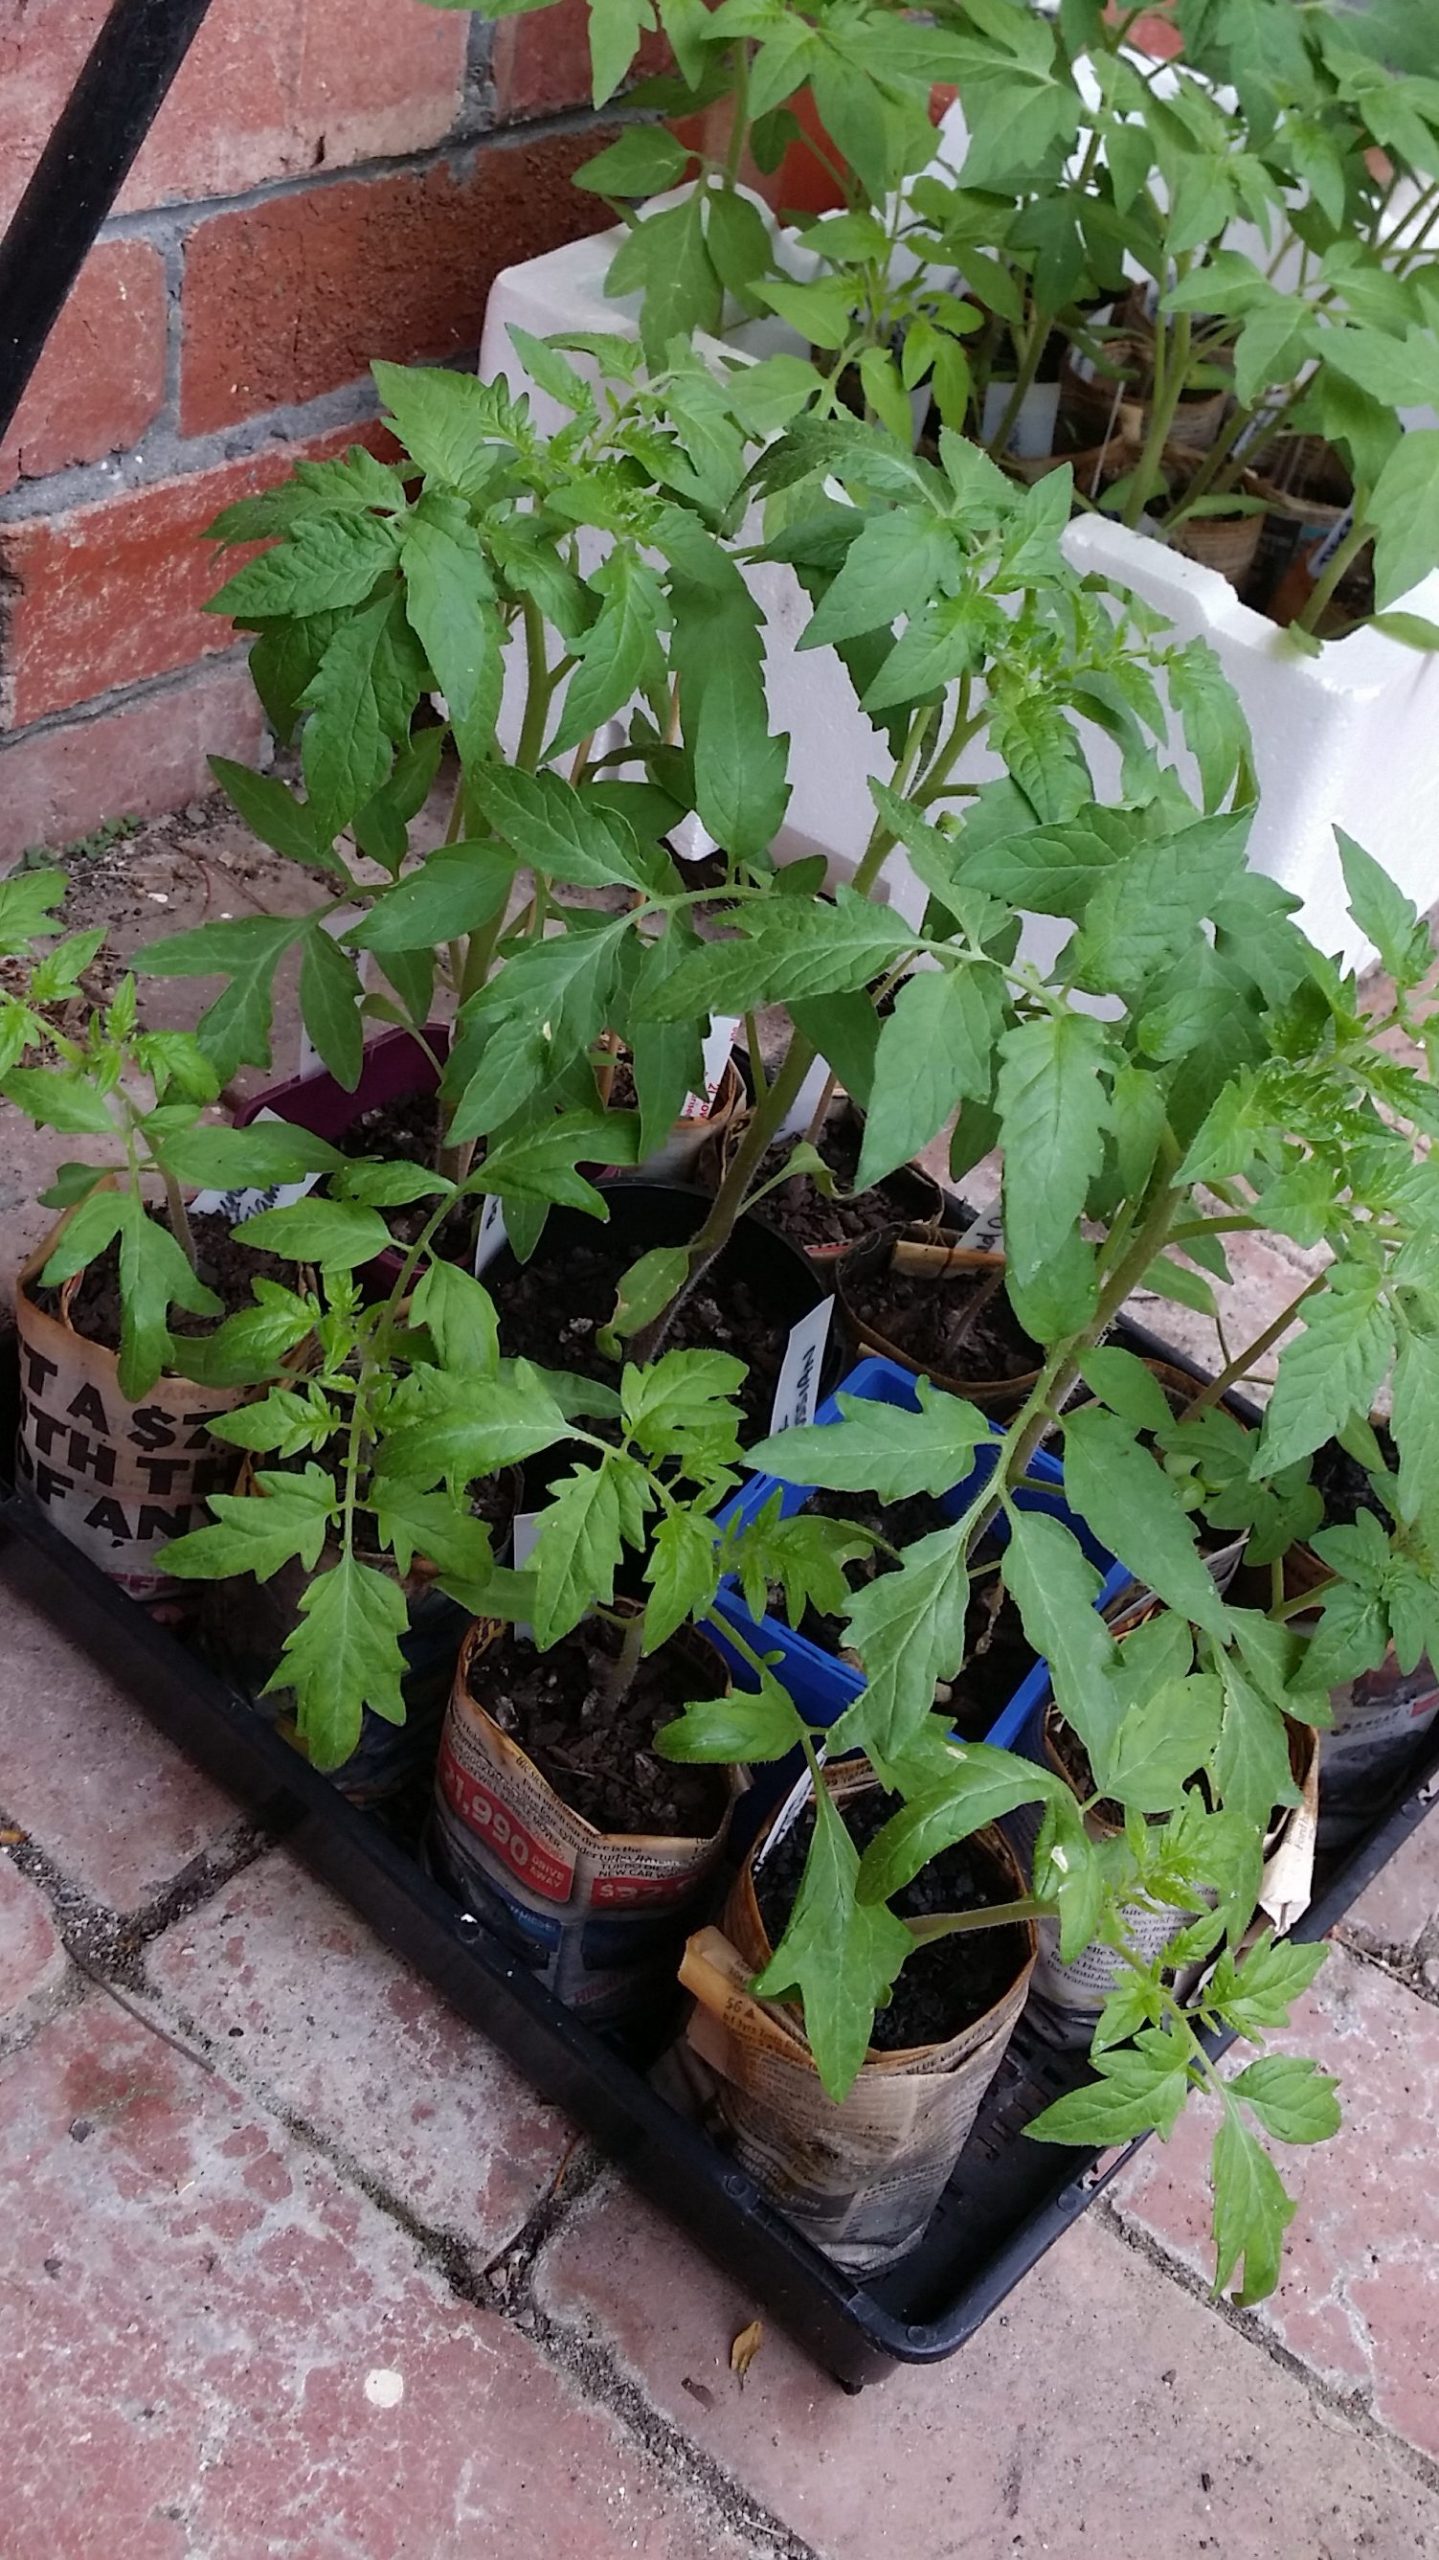
The reasons I always grow my couple of dozen plants from seed that I have saved from year to year is that they are varieties that have not only performed well in my garden’s micro-climate but they also are prolific and delicious tasting. Well-ripened and oozed over some lightly toasted (homemade) sourdough with lashings of extra-virgin olive oil, salt and dried oregano, they made a lunch snack that we can only enjoy in the summer months. When it comes to growing from seed, I’ll always end up sowing more than I’ll ever use. My excess seedlings have made their way into countless gardens over the years, so I hope those gardeners got to enjoy their bounty.
If you only want to grow one or two tomatoes, then maybe growing from seed isn’t the most time efficient model. You may as well go to a good dedicated nursery (not a department store or hardware chain) and choose from the ones they will have. Soon enough, after the wonderful tasting tomatoes you’ll end up with, you’ll get the tomato-growing bug and try to find another little spot the following summer in which to pop in another seedling.
Site & Soil Preparation
- Choose an area that will get at least 6 hours of direct sunlight a day. Check pH and adjust by adding lime if needed (pH 6.5-6.8 ideal). If you are adding lime, wait 2 weeks before further soil preparation.
- Well before you’re about to plant your seedlings, it is really important to prepare your soil first. That way, when the seedlings are in the soil, they have nutrients ready to take on and then take off. If possible, prep your soil at least a fortnight in advance before planting so that the soil micro-organisms, as well as the macro ones, like worms and beetles, break down the nutrients into a form that the plants’ roots can readily take up. That is, the organic matter in the food that you give your soil is turning into humus, a substance that acts like a conduit between the goodness in your soil and the roots of your plants.
- Prepare an area about 60cm x 60cm (per tomato) by adding any or all of the following: compost, cow manure or mushroom compost. How much compost will depend on how much you have! Add a few handfuls of pelletised organic manure, such as Organic Extra or Dynamic Lifter (the pelletised manure will have application rates on the bag) at the same time. If you wanted to, you could also add a slow-release form of seaweed conditioner, known as Rock Dust. This adds micro-nutrients to your soil but if you’ve made your own compost from a good variety of different components, you probably won’t need it. Water it all in well and then wait.
- There is a step that I do every second year and never at the same time as my general soil prep. It’s to add calcium and balance the pH of the soil by the addition of some garden lime. Here is a case where shortcuts are detrimental as when you add both the pelletised manure AND the lime at the same time, a reaction called off-gassing happens. The nitrogen nutrient component reacts with the lime and is lost to the atmosphere, rather than kept in the soil which is where it is useful. So, if you need to add garden lime, do it either side of the manure and fertiliser, but wait a fortnight before the addition of one or the others.
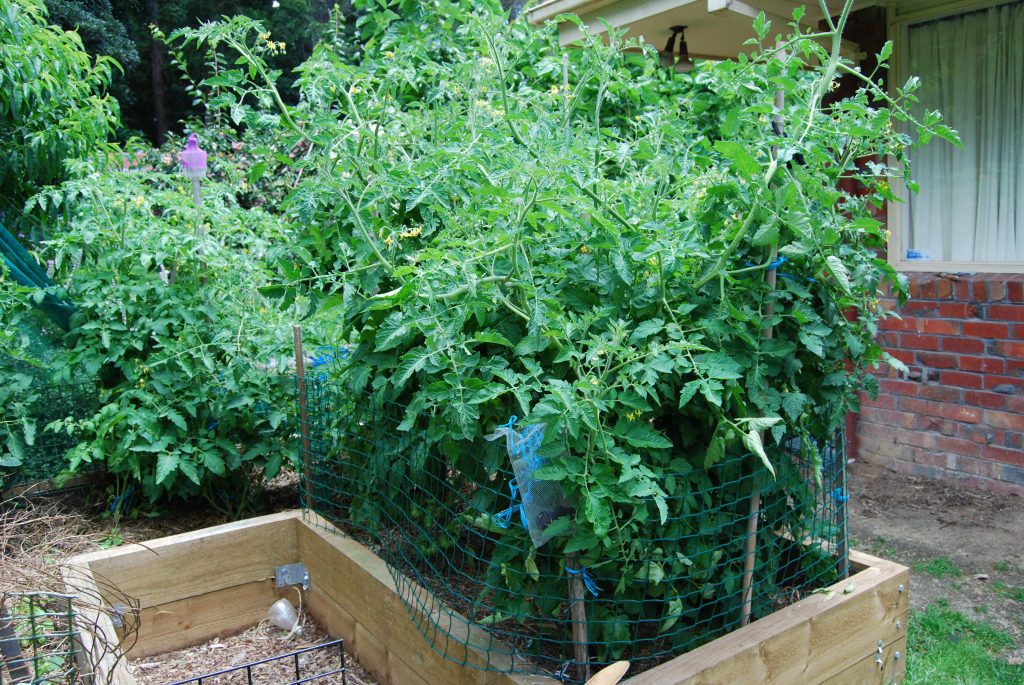
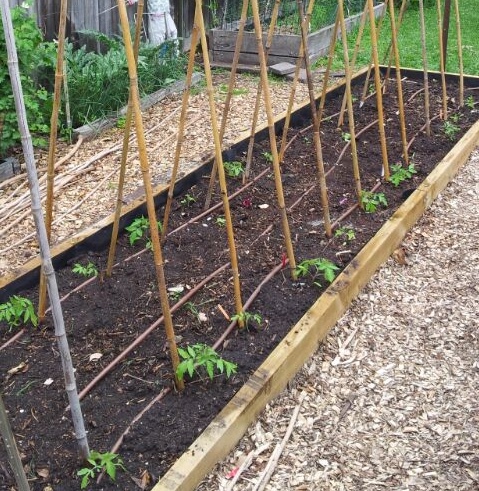
- Depending on the type of tomato you are growing, it will be a determinate (grows to a low height up to 60cm); semi-indeterminate (grows to about 1.5m) or indeterminate/climbing (over 2m). Anything other than determinate will need some sort of support in the form of garden stakes, wire frames, bamboo poles etc in order to help keep the developing fruit off the soil. BEFORE you plant is the best time to set up your support system. Spacing is important too. The seedlings are small but will grow, so give them space (75cm at least).
Planting Tomatoes in the Ground
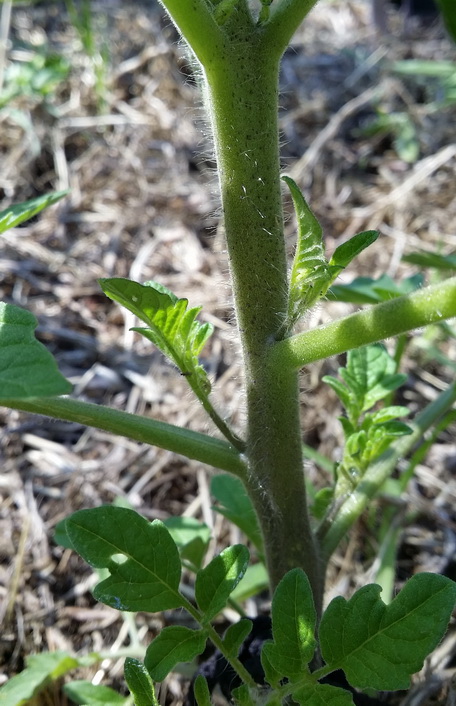
- Using a hand trowel, move aside some soil at least as deep as the height of the pot the seedling is in and then a bit deeper again, so that part of the stem is buried. Tomatoes benefit from being planted deeper than usual as the little hairs on their stems become roots once they come in contact with soil, giving you a stronger plant with sturdier roots.
- If you find that your soil is a bit too shallow or too hard to dig into (on a clay base), here’s a tip: remove the seedling from the pot and plant your seedling SIDEWAYS, leaving the top leaves poking up out of the soil once you have covered the rest of the seedling. Feels weird, but it works. The growing seedling can be trained to grow upwards along the frame or support you have provided.
- If the variety is tall growing, add a stake, cone or climbing support before or at the same time as planting.
- After planting, water it in well. If you have any Seasol or seaweed concentrate, include this in fortnightly watering.
Planting Tomatoes in a Pot
- Choose a pot that is at least 2 buckets in size. If you want to use a decorative pot that is terracotta or ceramic, get a plastic planter pot that will fit inside the decorative pot. Plastic will not dry out as quickly as the terracotta (unglazed) pots.
- Use a good quality potting mix, not garden soil. Choose one that has slow release fertiliser and water-saving crystals in it already. If you make compost, use some of it mixed 50/50 with the potting mix for extra “oomph” for the plant.
- Watering is especially important with pot grown tomatoes as the potting mix can dry out quickly and then become water-repelling. Being consistently moist is critical.
Caring for Tomatoes
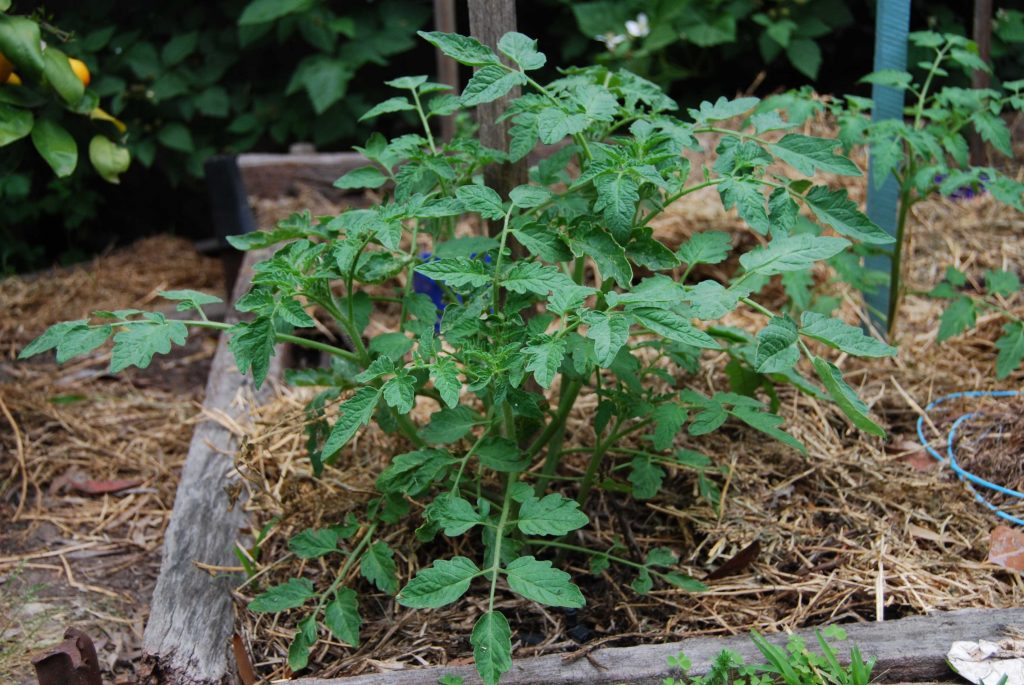
- One thing I try to do early on is to pinch out (remove) the side shoots. These grow between the main stem and developing branches. Left on the stem, they will make branches and grow tomatoes for you, but your plant will probably end up needing more supports as it grows large and unwieldy. Left too large and unsupported, branches might snap. The dense plant also has reduced airflow leading potentially to fungal diseases in wet weather. Having said all that, I do a lot of pinching out early in the season but then (in Australia) Xmas comes along and life gets too busy to be tending to your plants every day…
- Plants will benefit from an occasional pinch of potash to promote flowering and fruiting. Do this after planting and then every 4-6 weeks after that, watering in well each time. I do add a little at planting time to start the flowering early, as well as some chopped up banana peels, a low cost way of adding potash. If they are flowering but not setting fruit it could be that night-time temperatures are still too cold; or that you don’t have decent airflow to the plants. Insect pollinators are not needed for tomatoes. They are wind-pollinated so you need to have air movement around your plants.
- Admittedly I am a bit remiss on this next bit of advice. A fortnightly feed with an all purpose liquid organic fertiliser can help. Even watering with liquid seaweed every now and again can help but don’t be wasteful. Fortnightly is ample.
- Mulching is important to help stop soil drying out. Any of the straw mulches are best and can be placed right up against the stem. Mulch straight after planting. Plant some basil around the base to use together with the ripening tomatoes; or some marigolds for their soil-disease fighting capabilities.
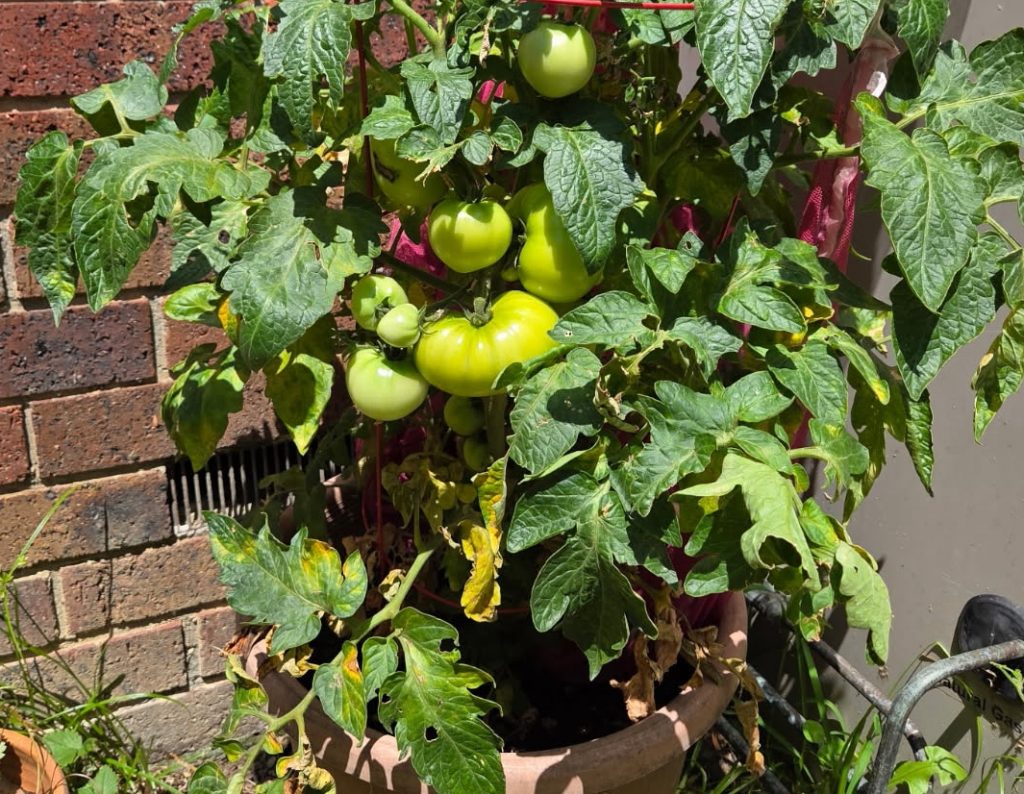
- Consistent watering is essential. If the soil is allowed to dry out in between watering, the developing fruit can show signs of water deficiency in a sunken and brown end on the tomato. This is known as Blossom End Rot, a sunken brown patch opposite the stem end. However, when you have a lot of green fruit turning to red and are waiting for them to ripen, hold off a bit of watering as the tomato flavours will intensify if not over-watered.
- Keep a supply of soft plant ties near your tomatoes as you will need to tie them loosely to the support and you will need to do this often.
Then all you have to do is hope the weather conditions favour the ripening of all the green tomatoes that you are seeing on your plants to enjoy Australia’s most popular backyard crop!
Common Nutrient Deficiencies
NITROGEN (N)
Lack of nitrogen shows as stunted growth, with pale green younger leaves.
Solution: Diluted fish emulsion, well-aged compost or manure.
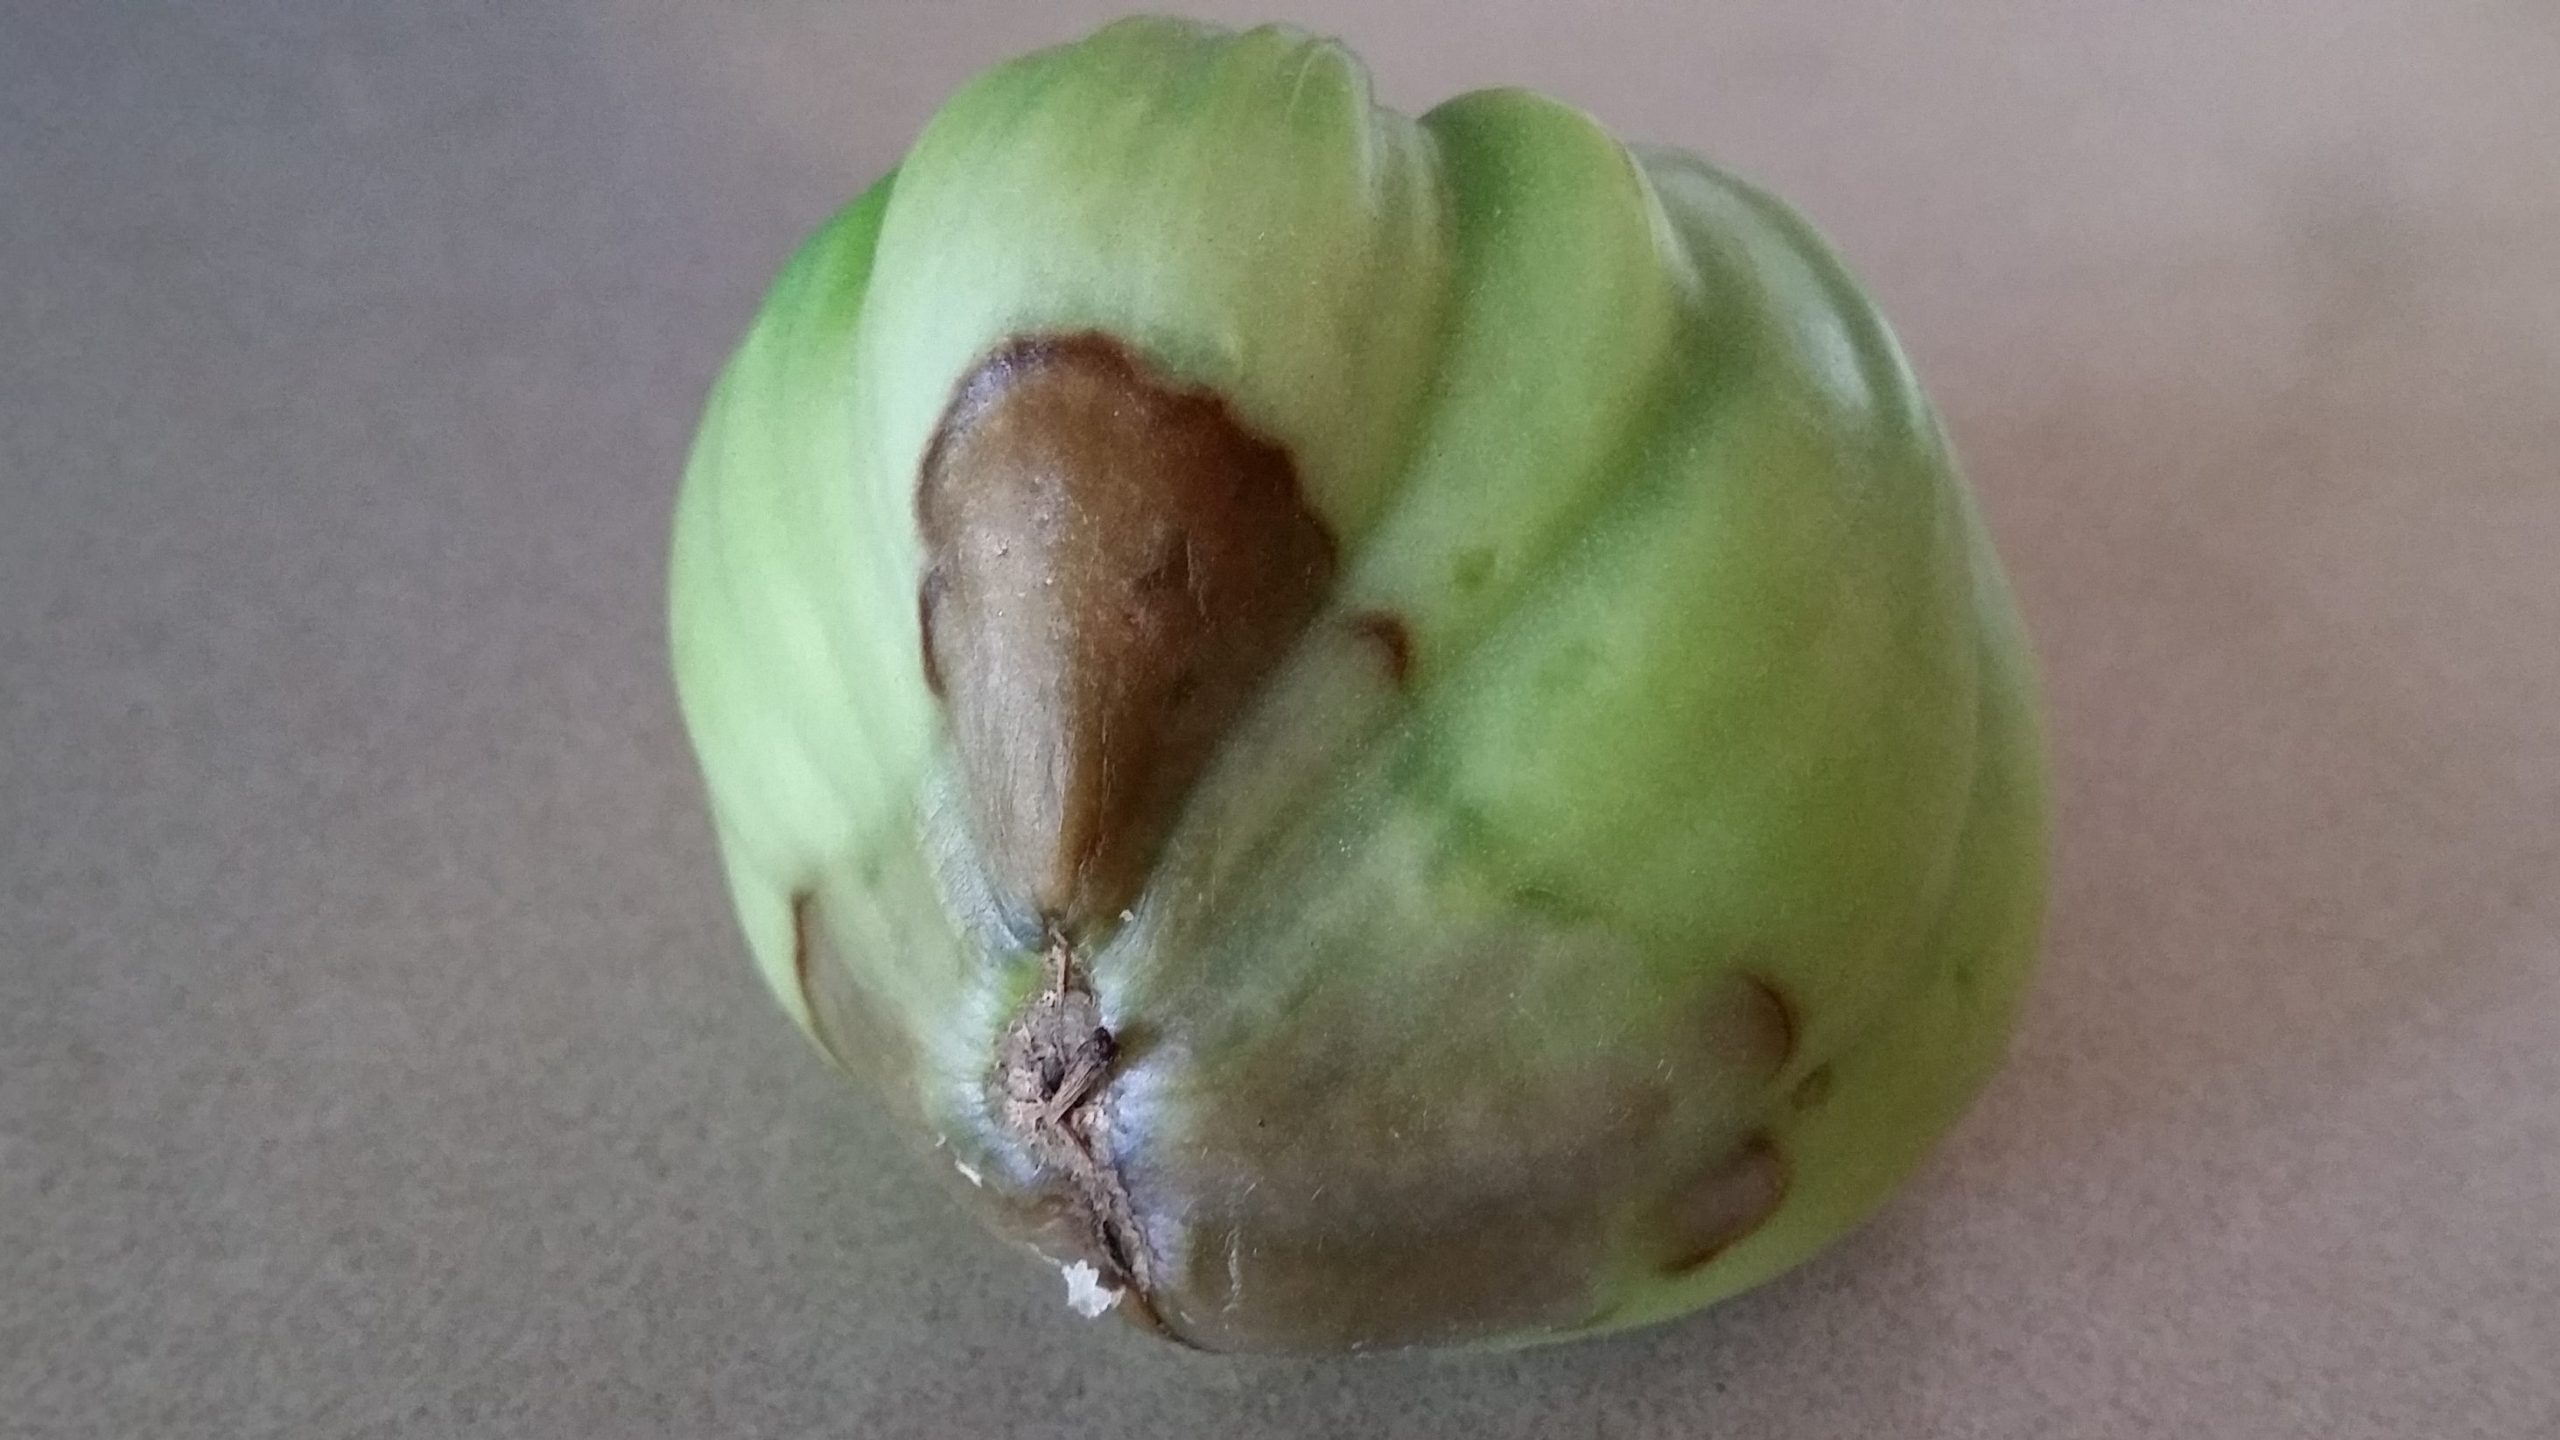
CALCIUM
Lack of calcium shows as blossom end rot (left) or browning around the base of the leaves.
Solution: Add Lime and water in well.
POTASSIUM (K)
Lack of potassium shows as brown scorching on leaf margins and chlorosis between the leaf veins. Slow to flower and blotchy fruit ripening.
Solution: Lightly sprinkle potash around the plant and water well. Spray leaves with Seasol.
IRON
Lack of iron shows as pale yellow leaves, inter-veinal chlorosis especially in younger leaves.
Solution: Check pH level. If too alkaline, add sulphur. You can also correct iron deficiencies with foliar sprays of iron chelates.
PHOSPHORUS (P)
Lack of phosphorus shows as stunted growth, purpling leaves, especially underneath.
Solution: Check pH level. If too high or too low, P becomes unavailable. Treat with blood and bone or rock phosphate.
Pests & Diseases
- Septoria Leaf Spot: affects lower leaves first and then moves up the plant. Small yellow spots will turn into brown with a black spot in the centre, often prevalent in humid weather. Remove and destroy affected leaves, spraying the remaining plant with a fungicide (such as EcoFungicide, Lime Sulfur or Copper Oxychloride). Try and avoid splashing water.
- Anthracnose: shows up as small, soft sunken water-logged spots on the fruit and spreads by splashing water off the ground. Try to keep ripening fruit clear of the ground, spraying remaining fruit with a fungicide as ripening begins. Do not save seeds from these plants!
- Queensland Fruit Fly: appears as tiny white maggots inside, often shows through premature fruit rotting. Net plants or bag tomatoes once fruit shows, hang Queensland fruit fly bait traps and pick up any fallen tomatoes. If you do have infested tomatoes, do not compost or throw away fruit – instead make sure to kill the maggots by freezing, microwaving or boiling to prevent further spread.
- Aphids: usually congregate under leaves and reduce plant vigour. Check leaves regularly and squash or spray with garlic or soap spray.
- Caterpillars: often enter fruit at an early stage, which causes the fruit to rot as the caterpillar develops. Spray with Dipel or Yates Success or net the plants to stop moths entering.